Munchies and Munchkins

Food and travel

  • Home
  • Blog
  • About
    • About me
    • Privacy Policy
    • Terms & Conditions
    • Work With Me
    • Disclosure
  • Contact
  • Partners
You are here: Home / Archives for family food

Slow Cooker Pea & Ham Soup

September 30, 2014 · by munchiesandmunchkins · 4 Comments

It’s 6am and I’ve just woken up to a house which smells incredible. It may not be breakfast food but I’m looking forward to lunch let me tell you.

I cooked two gammon joints last week in my Sous Vide Supreme.. One in We

I put my ingredients into the slow cooker at about 9.30pm last night and just set on low and walked away – how easy is that?

This morning I woke to perfectly cooked veggies, ham and a gorgeous broth. When I’m ready to serve it will probably blend it up as I love pea and ham soup this way..maybe even with a swirl of cream on top, some cracked black pepper and freshly baked soda bread.

Also apologies for the ingredients being in cups.. I was being rather lazy last night and used a cup for measurements so that I could share the recipe afterwards without the faff of weighing.

Slow Cooker Pea & Ham Soup

You will need:

2 cups ( packed) of cooked shredded ham/gammon
1 cup of frozen peas
3.5 cups of hot chicken stock
9-10 small new potatoes halved
1 carrot diced
Dried parsley
Pepper
Salt ( if required – I didn’t use any as gammon is salty enough)

Put all ingredients into the slow cooker and give a little stir.

IMG_8038.JPG

Turn onto low for 10 hours or high for 5. Blend before serve for ultimate flavour and creaminess. Extra good with a little cream on top and served with still warm bread.

IMG_8069.JPG

Yum.

Perfect for a chilly autumnal day.

I’m linking up to Tasty Tuesdays with Honest Mum

Tasty Tuesdays on HonestMum.com

Share this:

  • Facebook
  • X

Like this:

Like Loading...

Filed Under: Recipes, Slow Cooker · Tagged: crockpot, family food, gammon, pea and ham, slowcooker, soup

Jamie Oliver Lasagne Recipe – Ministry Of Food

August 8, 2013 · by munchiesandmunchkins · 56 Comments

Today I am sharing with you my favourite Jamie Oliver lasagne recipe. I have LOTS of recipe books.. I mean lots and I love them, I read them as you would a normal book and sometimes it can take me a year to first try a recipe from a book but that doesn’t make it any less useful to me.

I had this for Christmas about 6 years ago and it’s been well used, so much so in fact that I was ever so slightly embarrassed showing it to Jamie Oliver to get signed at last years Big Festival. Splashes of tomato and olive oil along with post it notes on my favourite recipes but hey I’m sure he prefers them to be used.

20130808-110616.jpg

Anyway the idea of the Ministry of Food book is that you learn a recipe and then pass it on, all of the meals are simple enough to make yet taste amazing. I have decided while I am having this temporary lull in creating my own recipes to share some of my favourites from the book with you as really that’s what it’s all about. If you are looking for a good basic recipe book to purchase I can’t recommend it enough.

To start here is my ultimate favourite recipe from this book, lasagne , there is something special about this lasagne. I’m not sure if its the combination of the two meats plus bacon or the creme fraiche and parmesan but it is seriously good.


Jamie’s lasagne

You will need:

2 rashers of streaky bacon diced
2 medium onions diced
2 cloves of garlic crushed
2 carrots diced
2 sticks of celery diced
olive oil
2 heaped teaspoons dried oregano
500g good quality minced beef or pork or half of each ( which is the best way )
2 tins of chopped tomatoes (400g)
sea salt & freshly ground black pepper
a small bunch of fresh basil
50g Parmesan cheese

To make the lasagne:

250g lasagne sheets -I’ve used fresh, homemade and dried all with great results
1 x 500ml tub of creme fraiche
100g Parmesan cheese
1 large tomato

Place a large saucepan on a medium heat and add 2tbsp of olive oil, diced bacon and oregano and cook stirring occasionally until bacon is golden brown. Add all of your diced veg to the pan an cook for around 7-8 mins stirring regularly, by now your veg should be starting to colour and soften. Add all of your minced meat and chopped tomatoes then add 1/2 a tin of water ( the book says 1 tin but I find it makes the sauce too thin and watery) add salt and pepper.
Remove the leaves from your bunch of basil and place in fridge for later, chop the stalks finely and add to sauce. Bring to boil then reduce heat, cover and simmer for 45 minutes.

Preheat oven to gas mark 5. Remove sauce from heat and add 50g of Parmesan as well as tearing in your large basil leaves keeping any smaller ones for decoration later.
If using dry lasagne sheets place some boiling after in a pan to blanch them for a minute or so before use, if using fresh there is no need. Make sure to drain afterwards to get rid of excess water.

Layering:

Start with a layer of bolognese the your lasagne sheets then a third of creme fraiche, seasoning and a third of Parmesan and repeat twice more. On the top layer decorate with sliced tomatoes and basil leaves before drizzling with olive oil.

Cover with foil and bake in oven for approx 20 minutes, remove foil and bake for an additional 30 minutes until golden brown and bubbling. Serve with salad and garlic bread. Sublime.

I’ve cooked and eaten a lot of different lasagnes and aside from an incredible one I had in Milan in 2008 which will probably never be beaten this is the best. Definitely one to try and worth the extra effort. I’ve made this for so many people and I’ve never had a bad reaction – in fact everyone asks for more.

jamie oliver lasagne recipe

More favourites coming soon including chicken and leek stroganoff and vanilla cheesecake.

Share this:

  • Facebook
  • X

Like this:

Like Loading...

Filed Under: Jamie Oliver, Recipes · Tagged: big Feastival, family food, Jamie Oliver, jamie oliver best lasagne, jamie oliver lasagna, lasagne, ministry of food, Pass it on

Creamy Meatball and Gnocchi bake

June 14, 2013 · by munchiesandmunchkins · 2 Comments

I was recently sent some vouchers for Richmonds mini meatballs as part of the Britmums hungry2happy competition. The challenge was to make a new recipe using the meatballs. I love a recipe challenge and I was soon thinking up ideas. If you read my blog regularly you will know that most of the meals I make are proper family dishes, good hearty and mostly healthy meals which can be made cheaply and quickly whilst not compromising on taste. I kept this in mind for the challenge and came up with a dish that my family loved and that I know I will make again.

Gnocchi is one of my favourite foods, I love to make it from scratch but for a quick easy meal you can’t go wrong with the store bought packets. They normally cost less than a pound per packet and when combined with a few ingredients you could well have in your cupboard already then it can make a filling and delicious meal. I decided to make a Gnocchi and Meatball bake as I knew that this would be simple to create and cheap!

Creamy Gnocchi and Meatball bake

You will need:

1/2 packet of Richmonds mini meatballs
1 packet of Gnocchi
250g of Passata
3 tbsp of creme fraiche
1 shallot ( diced)
1/2 a pepper ( I used yellow, diced )
1 large tomato (diced)
1 squeeze of garlic purée or 1 clove (diced)
Fresh herbs ( I used basil – I love it ) dried would be ok too
Grated cheese ( approx 100g)
Olive oil
Seasoning ( if required)

20130614-220759.jpg

Preheat oven to gas mark 4 (180)

Cook your meatballs as per packet instructions whilst you prepare your ingredients.

20130614-220655.jpg

20130614-220903.jpg

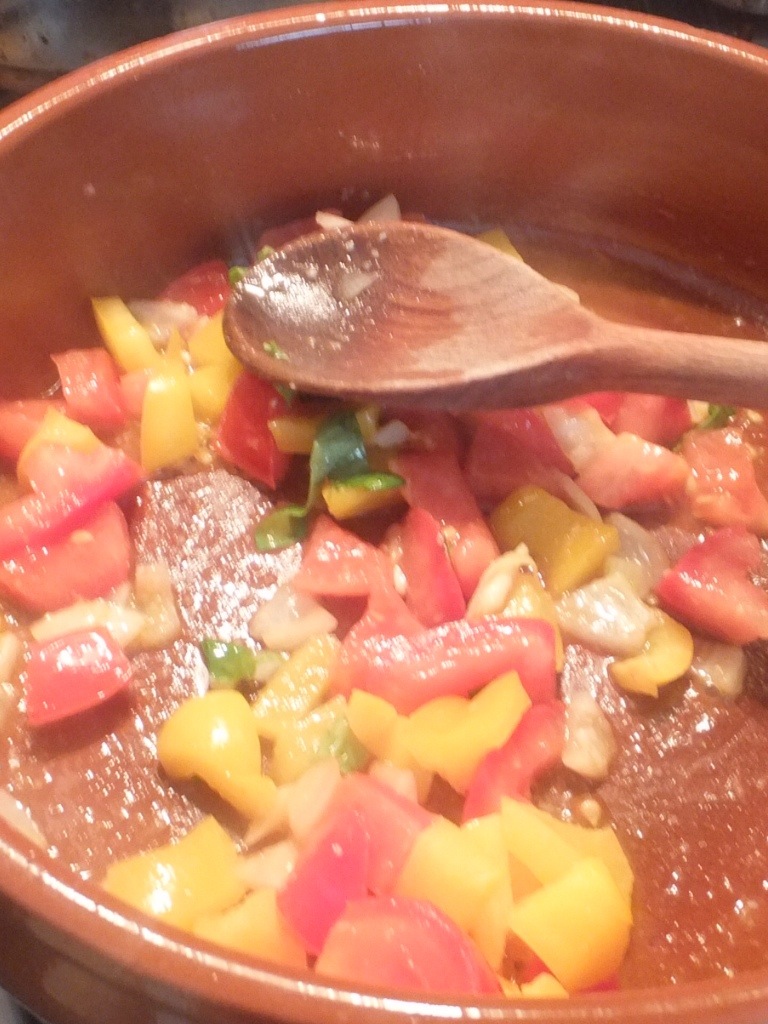
Heat some olive oil in a large ovenproof pan or cazuela and add your pepper, tomatoes,onions, garlic and herbs, cook over a low heat until softened.

20130614-220938.jpg

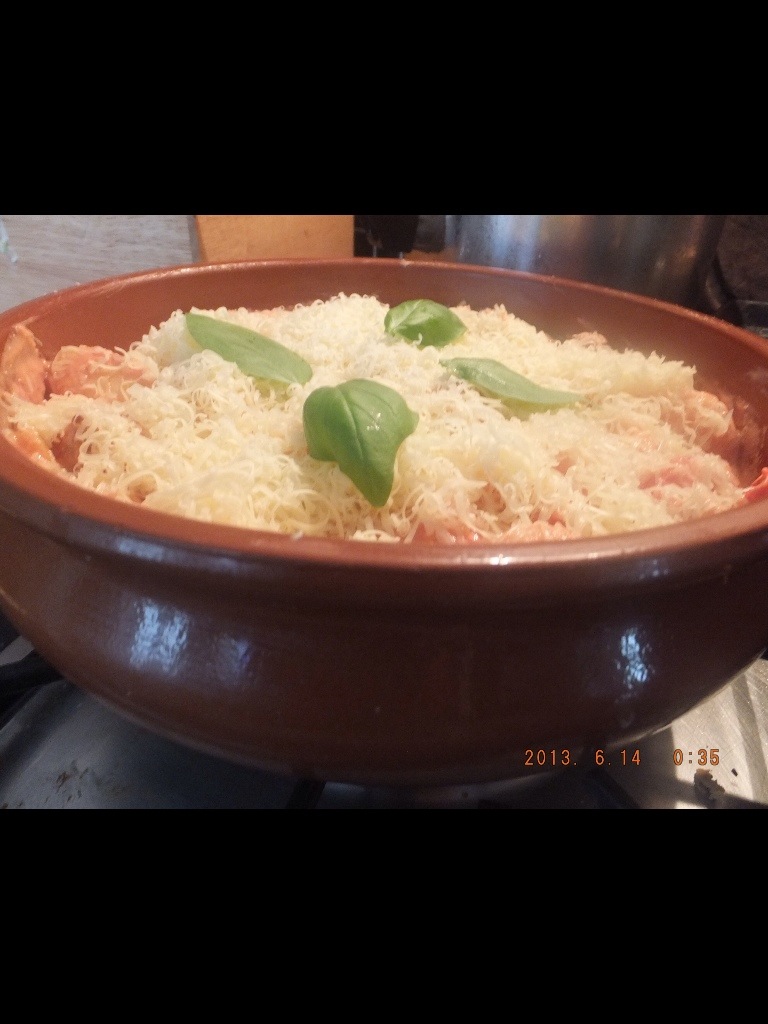
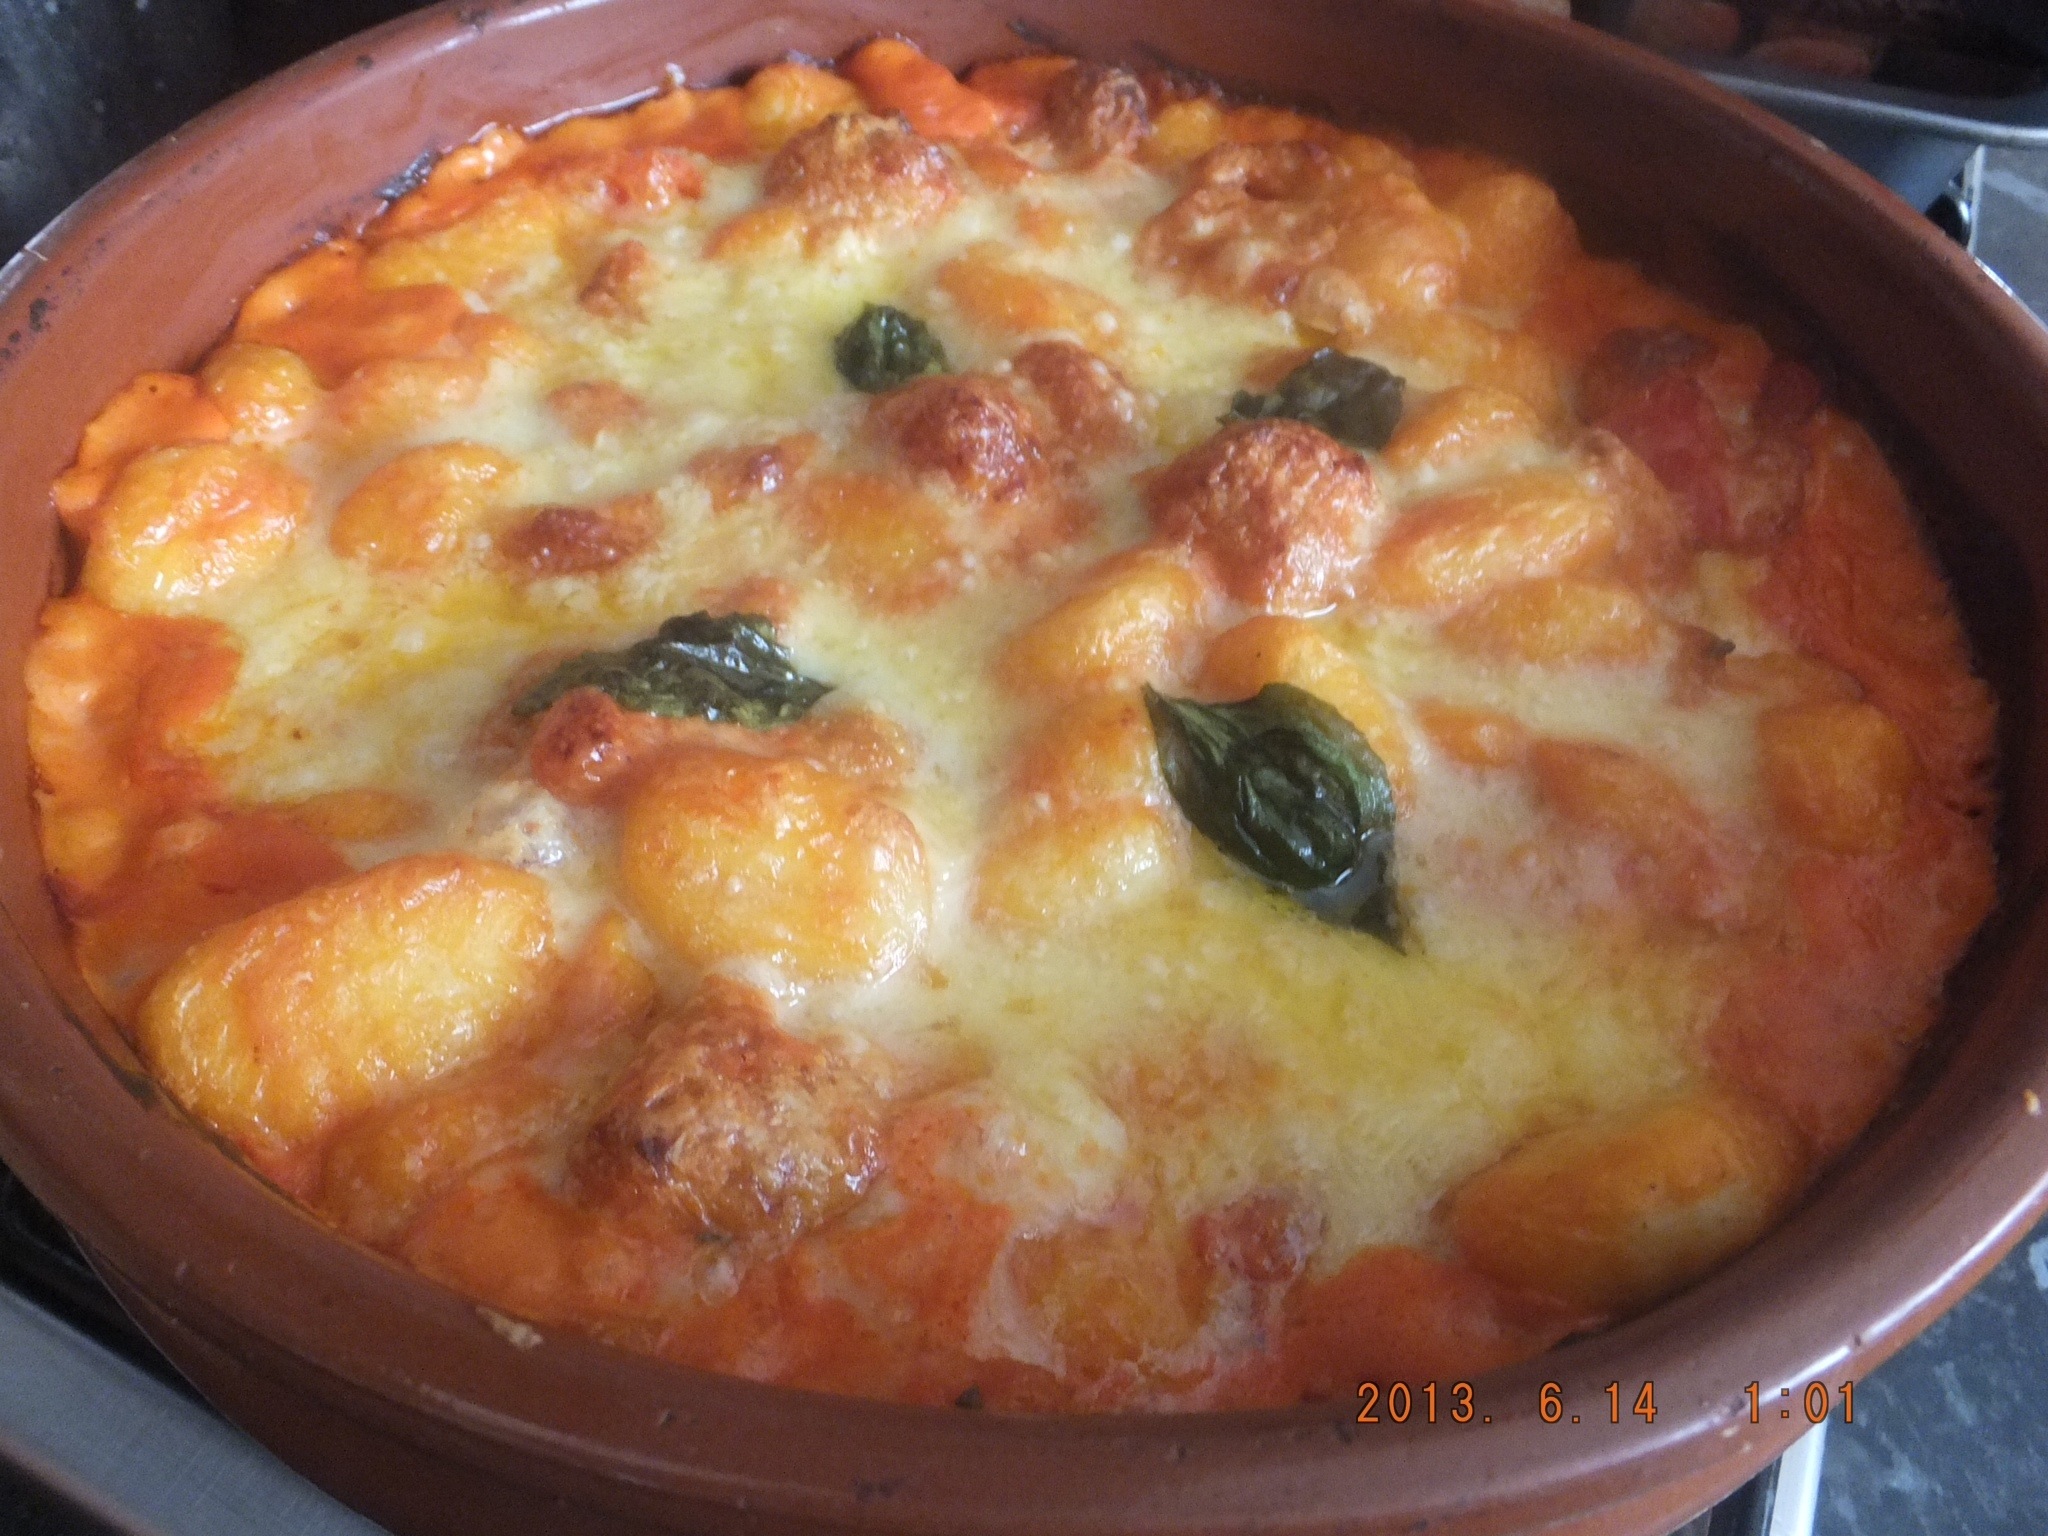
Cook your gnocchi per packet instructions (normally approx 3minutes ) then drain and add to your pan with passata, creme fraiche and seasoning if needed. Stir well. Add your now cooked meatballs ( I chopped in half to make it toddler friendly) and make sure the sauce covers all ingredients. Add your grated cheese, top with more herbs if you like and bake for approximately 15-20 minutes until golden and bubbling.

20130614-221023.jpg

20130614-221125.jpg

Serve with a large green salad and if you like perhaps some garlic bread.

20130614-221219.jpg

The verdict: it was absolutely delicious. The sauce is creamy and the meatballs are incredibly tender after being cooked that way … Yum.

You could adapt this in lots of ways, using up vegetables you have left in you fridge or cupboard. If you are calorie counting you could use just passata rather adding creme fraiche and you could certainly replace the grated cheese with herby breadcrumbs. You could also use pasta instead of the gnocchi but I think for this dish gnocchi is best.


Share this:

  • Facebook
  • X

Like this:

Like Loading...

Filed Under: Recipes, Reviews · Tagged: Basil, creme fraiche, family food, garlic, Gnocchi, passata, pepper, Richmond meatballs, shallot

Lucy’s Not really Macaroni Cheese

May 12, 2013 · by munchiesandmunchkins · 5 Comments

I am very happy to share with you another guest post from the very lovely Lucy. If you follow Lucy on twitter ( @Lucy_SG ) you will know she makes delicious family food on a regular basis and most days will see a mouthwatering tweet with the hash tag #tweetwhatyoueat. Anyway today sees a really comforting, homely recipe that she has been making for a long time. Thanks Lucy for another delicious recipe which I will certainly be trying when I’m over the worst of this darned morning sickness!

Lucy’s Not really Macaroni Cheese

The title of this recipe is such because I can honestly say I have never in my life bought a packet of macaroni. So this recipe has only ever been made with fusilli or penne. Since having children, I always use wholewheat fusilli and there is really no difference between this and ordinary pasta. But you can pretty much use any pasta you like.

This is the very first recipe I ever attempted on my own. My mum is a wonderful, hearty home cook and when I was young, the kitchen was very much her domain so opportunities to cook for myself were scarce. She worked nine-to-five and my dad worked shifts that often meant, come the school holidays, he would emerge from his murky pit ravenously hungry at strange times of the day. He’d eat weird stuff like mahoosive serving bowls of cereal or entire packets of jumbo rice cakes. My mum had a tiny cupboard in the kitchen stuffed full of slightly crusty-round-the-edges 1970s cookbooks, so one day I pulled one out, found a recipe for macaroni cheese and made it for my dad. I remember hovering over the pans, checking the recipe every ten seconds, fretting and fussing. What if I destroy my mum’s pans? What if it’s a disaster? What if I’ve got all the weights wrong? But it worked! And he liked it! He said it was better than the pasta my mum made! This was my first experience of the utter pleasure to be had from other people enjoying my cooking.

My version has been tweaked a thousand times since my first attempt in my early teens. I know it by heart and often chop and change what I add to it but the basic recipe is still much the same.

Ingredients:
6oz pasta
1oz butter
1oz flour
½ pint milk
6oz strong cheddar, grated
1tsp English mustard
Pinch of pepper

20130512-122753.jpg

Method:
Stick the oven on to pre-heat at 200 degrees. Boil the kettle and pour it straight into a pan to cook the pasta. While the pasta is bubbling, get a larger pan and melt the butter on a medium heat. Once melted, add the flour and combine to make a dough. It won’t look pretty but squidge it around the pan a bit for a few seconds to cook.

20130512-123202.jpg

Gradually add the milk, each time combining it with the dough. Use a whisk if need be but keep working it so it has as few lumps as possible. Once it’s all combined, keep stirring it until it’s smooth and starts to thicken up.

Check your pasta. You do not want it to be fully cooked or it’ll end up pappy later on. At this point you can add peas, broccoli or cauliflower to the pan for the last few minutes of cooking if you feel like it.

When the sauce has thickened up sufficiently and you see one or two bubbles popping on the surface, remove it from the heat and add nearly all of the cheese.

20130512-123256.jpg

Keep some back for sprinkling on top. Stir it in until melted, then add the mustard and pepper. You don’t need any salt, as the cheese is already quite salty. At this stage, you could add some pre-cooked ham or bacon or some fried mushrooms. Or not. Up to you.

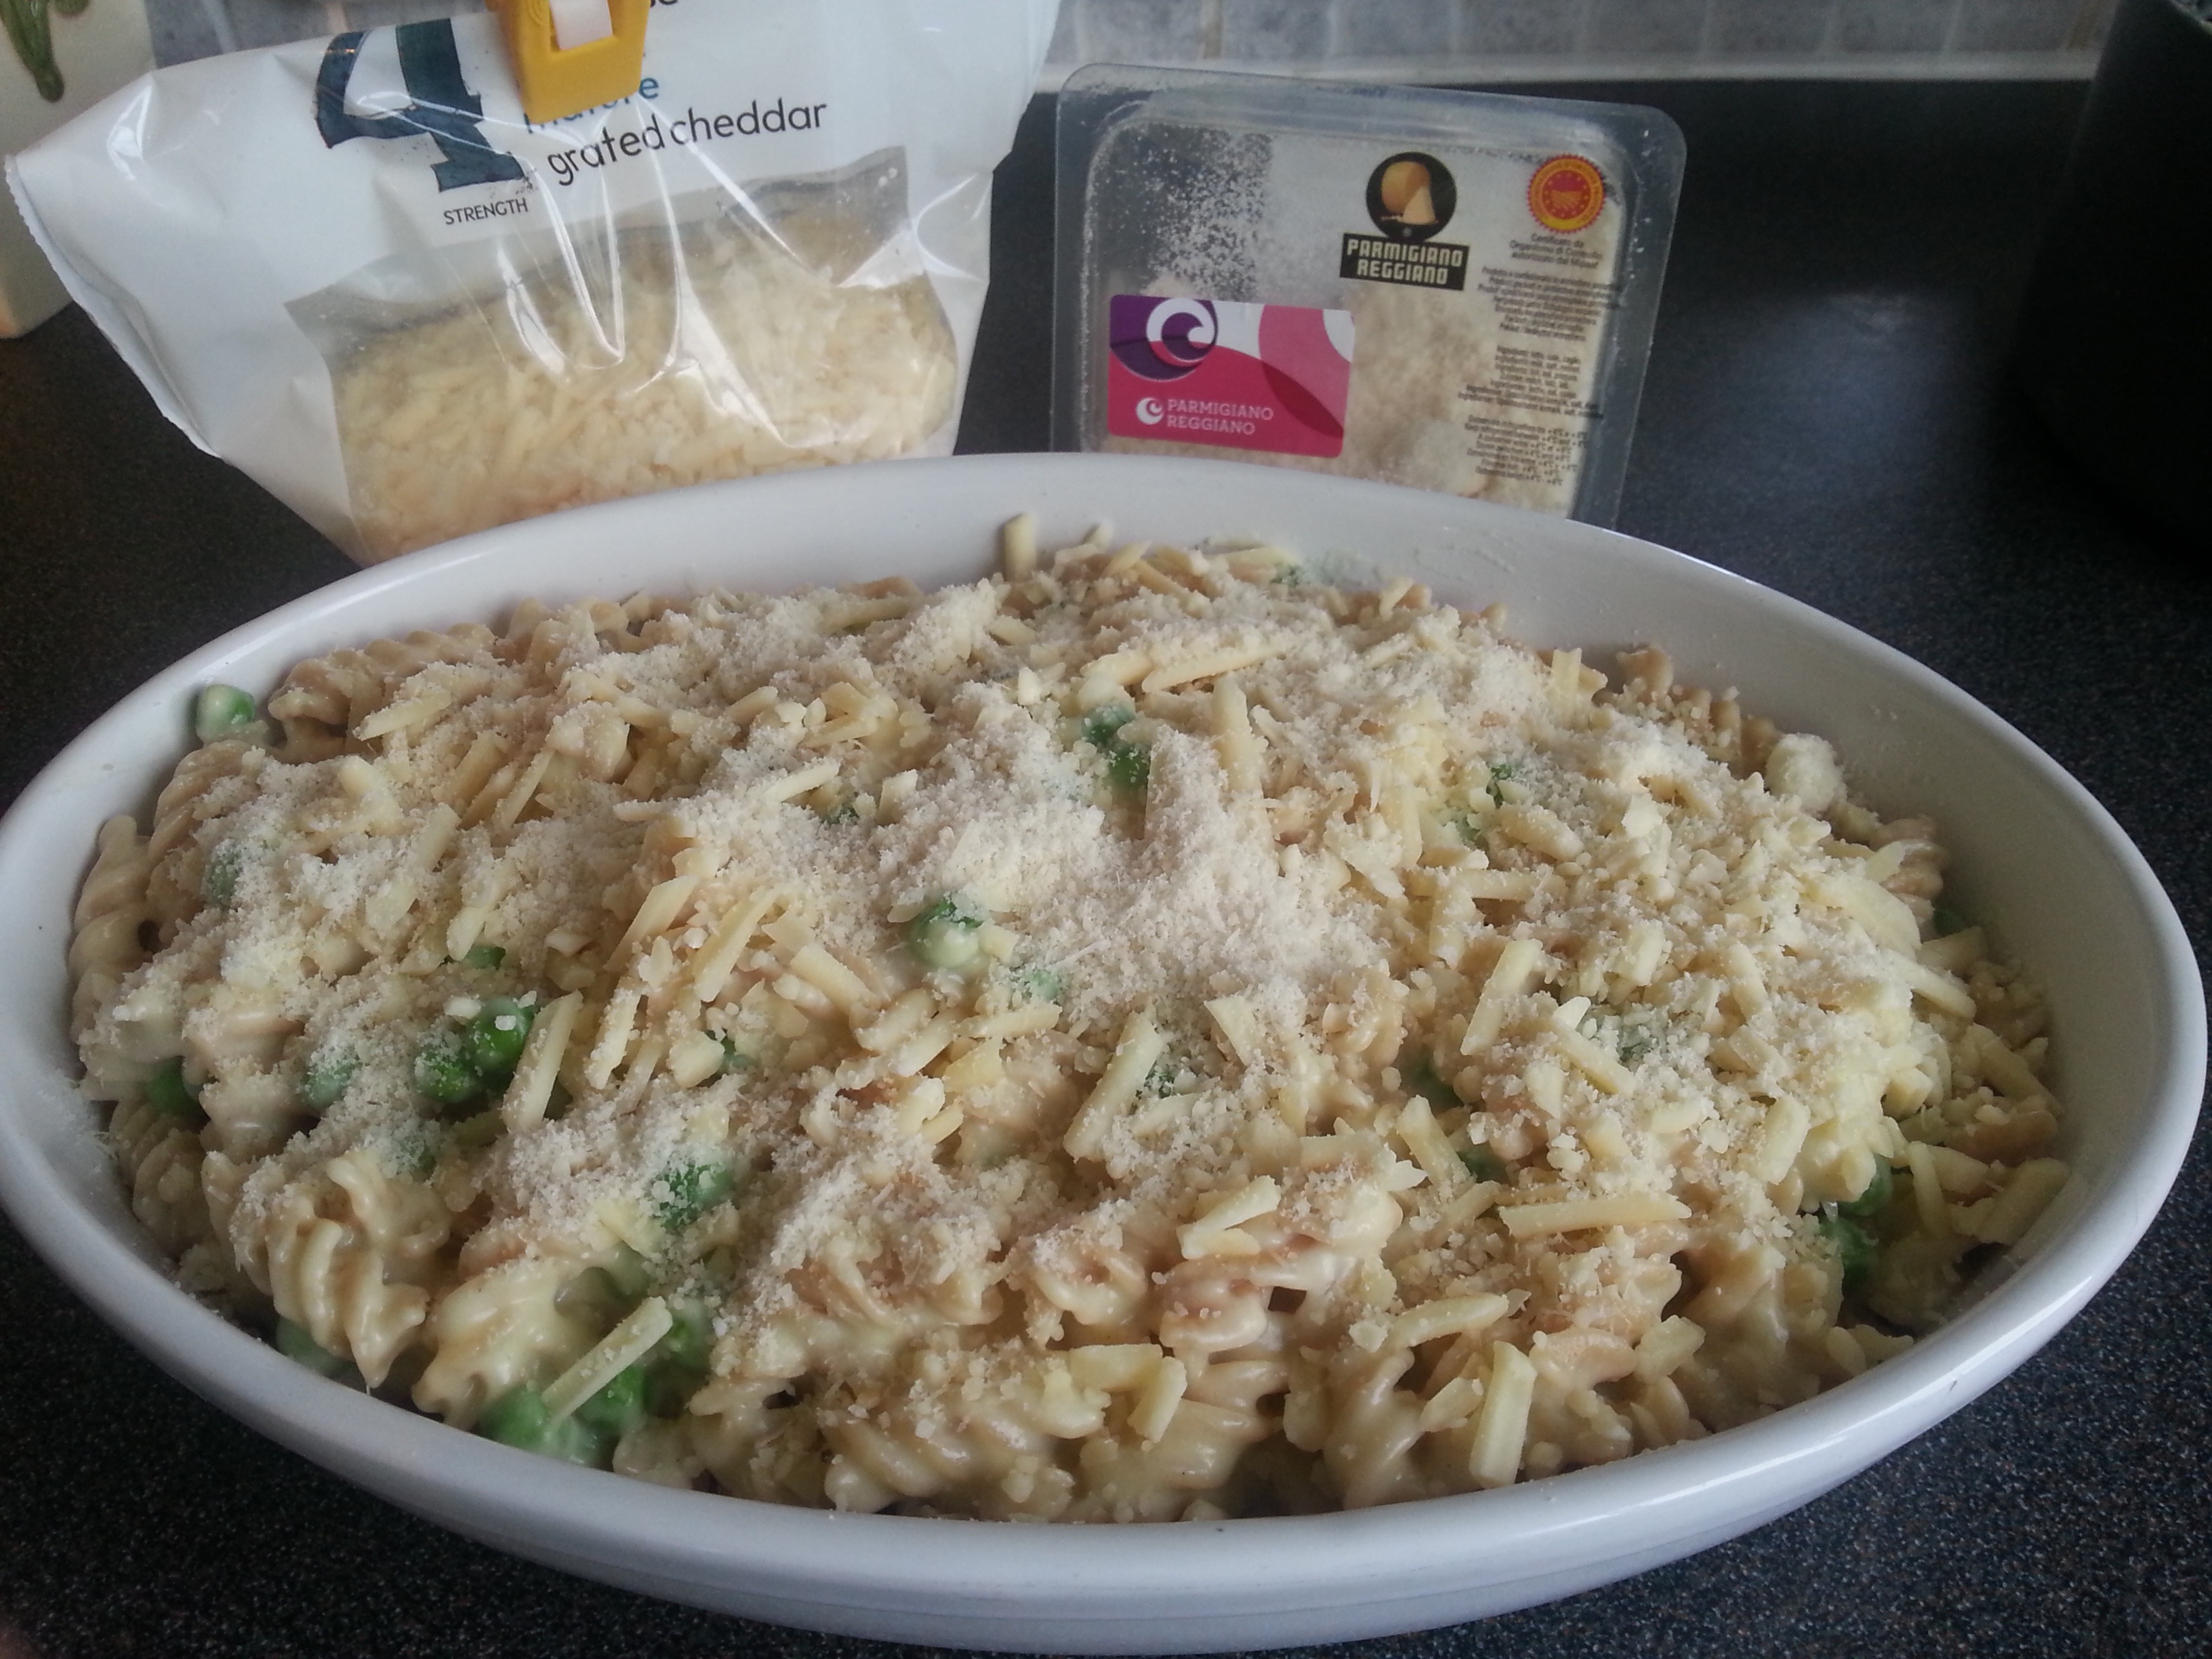
Drain the pasta/veg and tip into the pan with the cheese sauce. Give it a good stir and transfer the whole lot to an ovenproof dish. Sprinkle the top with the remaining cheddar and some parmesan for extra crunchy bits. A little cayenne pepper on top or some slices of tomato are special if you’re feeling a bit fancypants.

20130512-123412.jpg

Bake in the oven at 200 degrees for 20 minutes or until the top is all crispy and scrumptious. Serve with garlic bread or a side salad. It will be a gazillion degrees when it comes out of the oven but it’s well worth burning your tongue on account of it’s amazing tastiness.

20130512-123456.jpg

Share this:

  • Facebook
  • X

Like this:

Like Loading...

Filed Under: Recipes · Tagged: family food, Guest post, Lucy, macaroni cheese, recipes

Food Advertising by logo

Connect with me

  • Email
  • Facebook
  • Instagram
  • Twitter

The Wonders Of Wales

We were recently invited to review a night and dinner at The Celtic Manor and what a stay it was. Stepping in to The … Read More

The Wonders Of Wales

Recipe Development

Oreo Mint Choc Chip Ice Cream – Oreo Flavours

I love Oreos. Eaten whole, munched in half, deconstructed with the filling scooped off and of course dipped in tea. What … full post here

Read more like this...

Food Advertising by logo

Archives

Categories

Meta

  • Log in
  • Entries feed
  • Comments feed
  • WordPress.org
Food Advertising by logo

Copyright © 2025 | Powered by Munchkins

%d