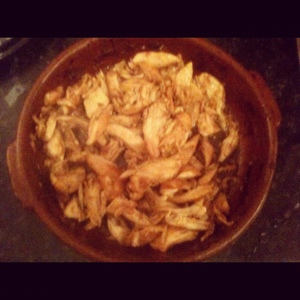
Every time I make Spaghetti Bolognese I make too much sauce, sometimes it’s unintentional but mostly not as I do plan to freeze it etc etc. The only problem is that my plan goes awry most of the time and I end up wasting more than I use as I forget it dwindling away in the freezer or worse I forget to freeze it at all. I have now started to use up my leftover sauce a day or two after I make it but rather than have another Spag Bol I make a tasty bolognese bake. I got the idea for this from Izzys grandfather who makes something similar but I’ve created my own somewhere along the line.
I’m sure you all have a favourite Bolognese recipe but here is mine which I have made with some additions or substitutions for years now:
Beckys Bolognese
Minced beef- of a decent quality is best as you can taste the difference
1 onion – diced
Passata
Tomato purée
3 or 4 garlic cloves minced or diced
Fresh chopped tomatoes ( I like cherry tomatoes on the vine )
Aunt Bessie’s finely chopped frozen veg
Olive oil
Fresh herbs ( think oregano, basil, rosemary, sage, thyme ) chopped. Dried is fine but fresh makes it special.
Seasoning ( seasalt and freshly ground black pepper)
Sauté your onions in the olive oil before adding your mince until browned then I literally add everything and cook for as long as I want.. The longer the better. I use the frozen mixed veg purely out of laziness but it really is great as it includes carrots, celery, onion and leeks which are all things I like in my sauce anyway. I haven’t included quantities as I never measure when making this which is probably why I always make too much!

If I have them I also like to throw in some sliced red and green peppers.
Serve with spaghetti.
**Special tip – to give your dish something extra whiz up some breadcrumbs mixed with herbs in a food processor and lightly toast in a pan with some olive oil and crushed garlic. When you have dished out sprinkle some breadcrumbs and parmesan over your dish. So good.**
And so onto my bolognese bake:
A day or two after I make my bolognese I use the leftover sauce to make a special pasta bake.
You will need:
A bag of pasta ( I tend to use penne for this)
50g plain flour
50g Butter
1 pint of Milk
175g Cheese
1/2-1tsp Mustard
Leftover Bolognese sauce
Seasoning
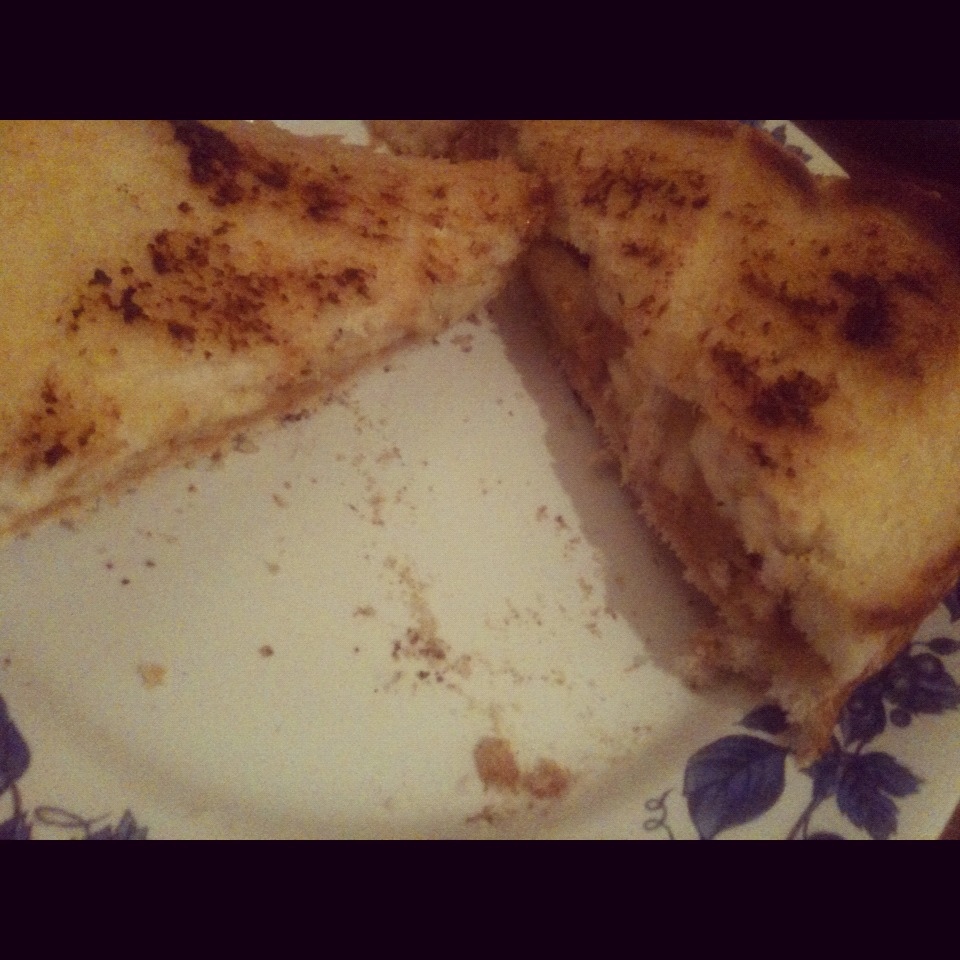
Cook your pasta as per packet instructions whilst slowly reheating your bolognese in a large ovenproof pan or cazuela, during this time make up a basic white sauce. To do this create a roux with your plain flour and butter then add your milk and whisk until smooth, let your sauce boil stirring continuously and then add 100g of grated cheese, seasoning and mustard. When cooked, drain your pasta and stir into your bolognese sauce. Top with your cheese sauce and sprinkle with grated cheese and season.

Place in a hot oven for 20-25 minutes until golden and bubbling.
This tastes better than the original spaghetti bolognese. The flavours in the sauce have really come together and the cheese sauce on top is divine. It’s a cheats lasagne I guess and definitely good for those on a budget as you should have everything in your cupboard or fridge already.

I serve this with a simple salad.
I love to hear your comments and I love it even more when you have tried a recipe out for yourself 🙂
* This post is part of the #FaveFamilyRecipes Competition with BritMums and Tilda Rice. Every pack sold will provide a meal to an expectant mum in Bangladesh.